
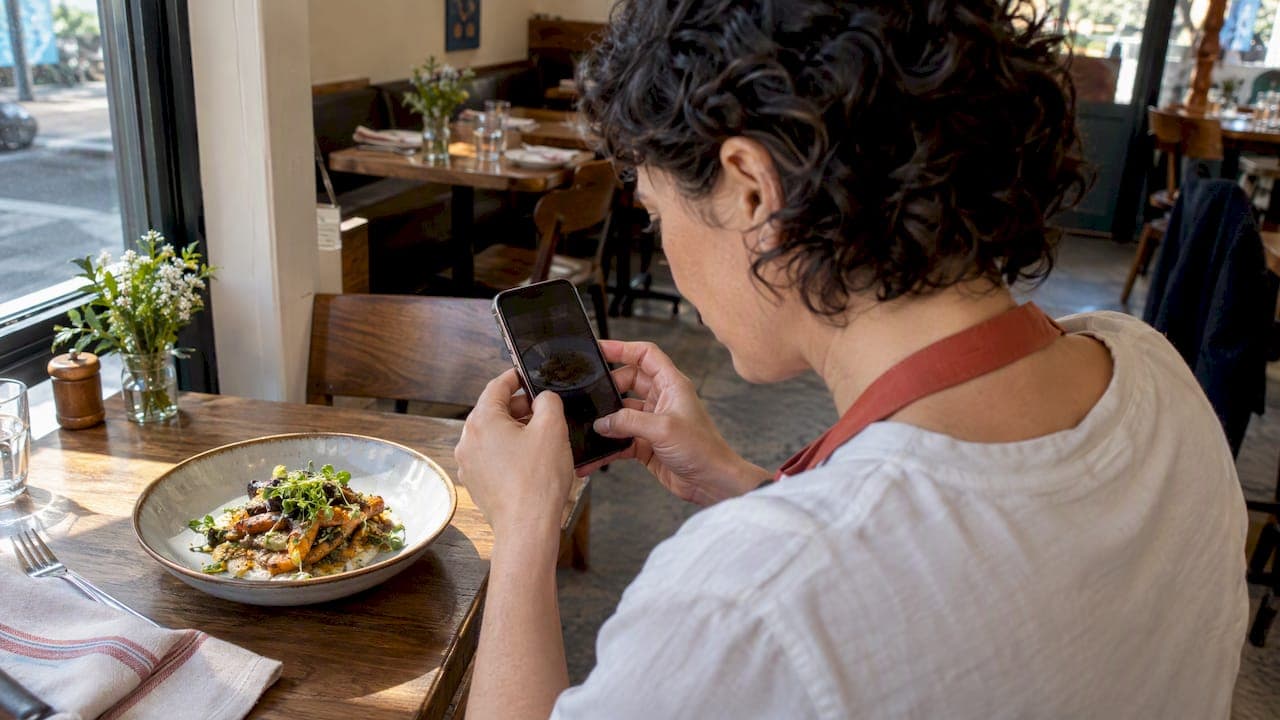
For menu-ready photos, shoot one centered dish in soft side light against a plain background, crop to the platform's required aspect ratio, and upload a clean file with no text, logos, or clutter. A smartphone with a diffuser or a small reflector handles most of this without hiring a photographer.
***
TL;DR:
>
- Use side or diffused window light, soften harsh sun with a sheer curtain, and bounce shadows with white foam board; overhead light flattens texture. - Choose the angle by the dish: shoot flat plates from above, layered dishes at 45 degrees, and tall items like burgers at eye level. - Platforms may reject photos containing people, text overlays, or distracting props; center each dish with crop margins, and verify usage rights before publishing. - Photograph the full menu in one session, save a large master file for later cropping, and inspect each image at thumbnail and full size. - Hire a photographer for a large menu launch, fine dining concept, or multi location brand relaunch; staff photos suit weekly specials and quick updates.
***
Table of Contents
- Why menu photos matter for orders and sales
- Practical pre-shoot checklist for menu images
- Lighting and composition techniques that work for menu photos
- Food styling, plating and prop choices for menu photos
- Camera and smartphone setups that work without hiring a pro
- Platform specs: resolution, aspect ratio, and cropping rules
- Workflow: from shoot to publish without the bottleneck
- Publishing menu photos inside a RESTOBOT site
- Quick rules our restaurant partners follow
- Publish your menu photos with RESTOBOT
- FAQ
- Sources
Why menu photos matter for orders and sales
Good photos aren't decoration, they're conversion tools. Images with higher aesthetic quality are associated with increased dish sales on food delivery platforms, according to research on image aesthetics and food delivery sales. When a photo looks appetizing and easy to parse, customers order it more often.
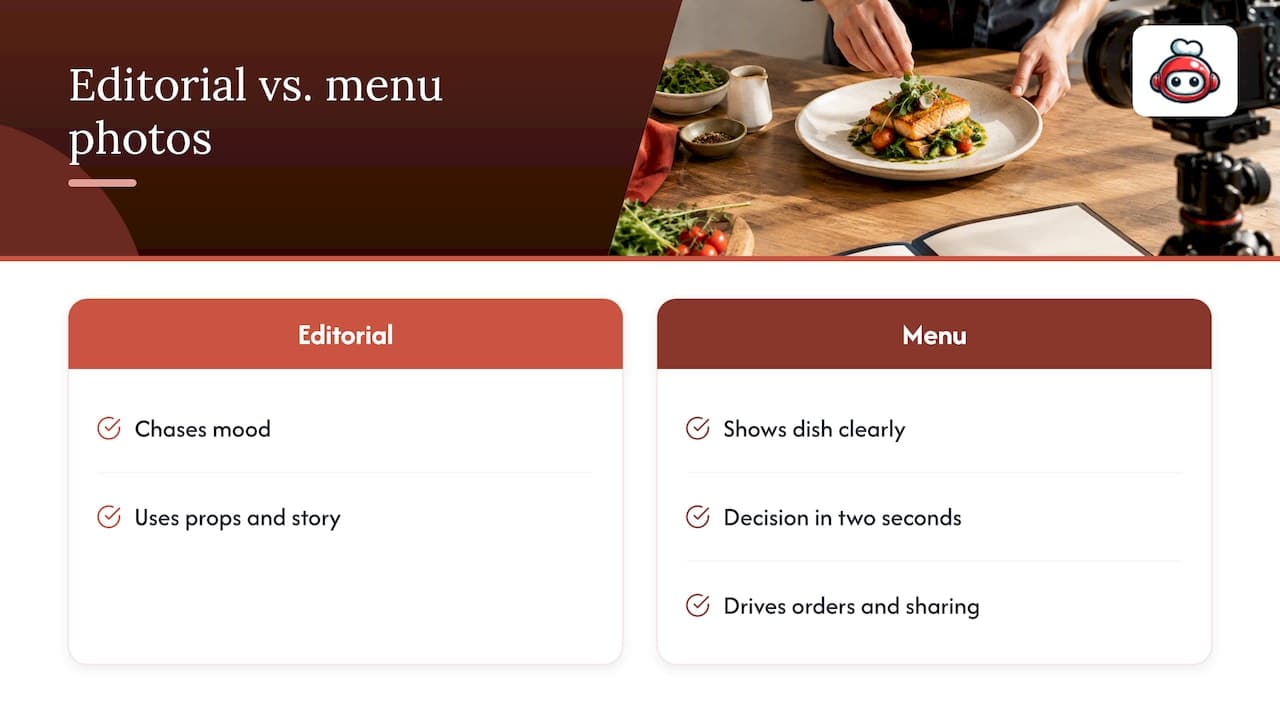
There's a real difference between editorial food photography and functional menu photography. Editorial shots chase mood, props, and a story. Menu photos have one job: show the dish clearly enough that a hungry person scrolling on a phone decides in two seconds. A study on digital menu design found that menu visual appeal and informativeness increase both the desire for food and the likelihood customers will share it on social media, which means a clear, appetizing photo does double duty: it drives the order and extends your reach for free.
Set realistic expectations. A single afternoon with a smartphone, a window, and a checklist can photograph an entire menu. The payoff isn't instant virality, it's steadier clicks, fewer "what does this actually look like" questions, and a menu that reads as trustworthy rather than thrown together.
Practical pre-shoot checklist for menu images
Treat this like a prep list, not a creative exercise. Consistency across the menu matters more than any single beautiful shot.
- Choose one hero plate per dish and portion it exactly as you'd serve it; don't overfill for the photo.
- Pick garnishes that hold their shape and color for the ten minutes a shoot takes.
- Wipe the plate rim and clean any drips before the first frame.
- Set a plain, light or neutral background with no competing patterns.
- Center the dish in the frame and leave margin on all sides for platform cropping.
- Confirm you have the right to use the images (in-house photos, staff-taken, or licensed stock) before publishing.
- Name files by dish and date, for example
grilled-salmon-2026-03.jpg, so uploads stay organized.
Garnish choice matters more than it seems. A sprig of parsley reads as a green blur at thumbnail size, while a few whole microgreens or a citrus wheel still read clearly when shrunk down.
Pro Tip: *Shoot a test photo, shrink it to thumbnail size on your phone, and check if you can still tell what the dish is before you shoot the rest of the menu.*
Lighting and composition techniques that work for menu photos
Soft, side-facing light is the single biggest lever for vibrant food presentations in appetizing food photos. According to the Institute of Culinary Education's lighting guide, side or diffused natural light defines texture far better than direct overhead light or on-camera flash, which flattens the dish and creates harsh reflections.
- Position the dish next to a window with light coming from the side, not behind the camera.
- Hang a sheer curtain or use a diffuser panel to soften harsh midday sun.
- Bounce light back into shadows with a white foam-board reflector on the opposite side.
- Pick your angle by dish shape: top-down for flat, round plates, a 45-degree angle for stacked or layered dishes, and eye level for tall items like burgers or layered drinks.
- Keep the camera perfectly level, a slanted plate reads as careless even when the food looks great.
When natural light isn't available, a small diffused LED panel keeps color temperature consistent across a dinner shift or a late-night shoot, which matters if you're photographing dishes over several days. Menus that keep lighting, portion size, and background consistent across items reduce customer confusion and increase perceived reliability, according to the study on digital menu effects. Avoid mixing warm indoor bulbs with daylight in the same shot; that color clash is one of the most common amateur mistakes.
Food styling, plating and prop choices for menu photos
Menu photos get glanced at for a second or two on a small screen, so clarity beats creativity every time.
- Choose a plate color that contrasts with the food instead of blending into it.
- Keep garnishes bold enough to read at thumbnail size: whole herb leaves, citrus wheels, visible sauce drizzles.
- Use a single-item shot for each menu entry, and save multi-dish spreads for hero banners or category headers.
- Skip hands, cutlery mid-bite, or steam effects for item photos, they add clutter without adding clarity.
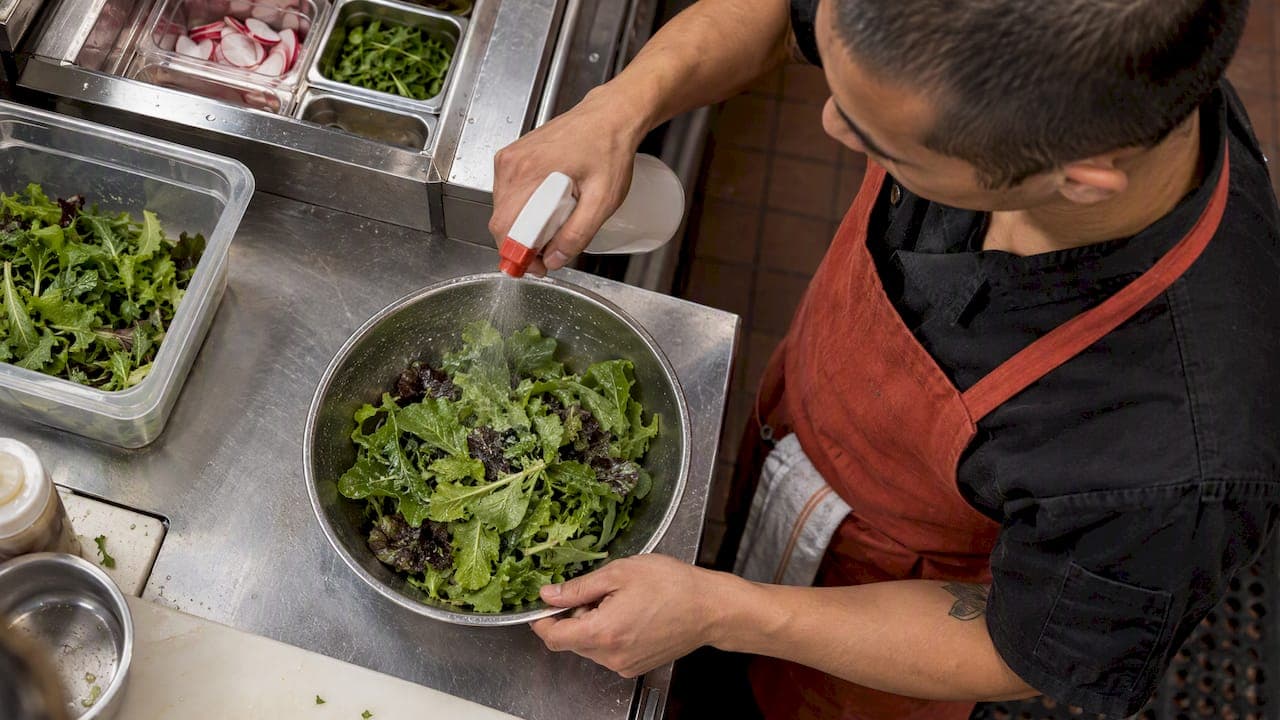
- Add a light sheen with a touch of oil or water spray right before shooting to boost perceived freshness.
The rule of thumb: an item photo answers "what is this dish," while a hero image answers "what's it like to eat here." Mixing the two confuses customers scrolling fast.
Pro Tip: *Keep a small spray bottle of water on set, a light misting on greens or sliced fruit keeps them looking fresh through a whole shoot.*
Camera and smartphone setups that work without hiring a pro
Most restaurants don't need a dedicated camera to get menu-ready photos.
- Use your phone's rear lens, never the front camera, for sharper detail.
- Lock exposure and focus by tapping and holding on the dish before shooting.
- Turn on the grid overlay to keep the plate centered and the horizon level.
- Wipe the lens, phone lenses pick up fingerprints and food splatter constantly.
- Add a small reflector, a diffused LED panel, and a tabletop tripod, all low-cost accessories that noticeably steady and soften your shots.
Consider hiring a photographer when you're launching a large menu at once, running a fine-dining concept where hero images carry real weight, or relaunching your brand across multiple locations. For a rotating weekly special or a quick menu update, your own setup is faster and gets the job done.
Platform specs: resolution, aspect ratio, and cropping rules
Delivery and ordering platforms check images against fixed technical rules before publishing them, and failing those rules is the most common reason photos get rejected.
According to Deliveroo's photo upload guidance, platforms commonly reject images that include people, text overlays, or distracting props, and most run a manual review that returns approved, rejected, or flagged for human review.
- Center the subject and leave margin on every side so automated or manual crops don't cut off the plate.
- Skip watermarks, price tags, or any text baked into the image itself.
- Run a quick thumbnail test and confirm the filename and usage rights before you upload.
Workflow: from shoot to publish without the bottleneck
A repeatable workflow keeps a 40-item menu from turning into a week of work.
- Shoot every dish in one session under the same light to keep color and shadow consistent.
- Do a light edit only: straighten the horizon, adjust exposure, and correct white balance. Skip heavy retouching that makes the dish look unlike what arrives on the table.
- Batch-edit similar dishes together (all salads, then all mains) to keep tone matched across the menu.
- Name files by dish and shoot date, and keep a folder of unedited originals in case you need a different crop later.
- Check each image at both thumbnail size and zoomed in before publishing, a crop that looks fine small can show blown-out highlights up close.
Pro Tip: *Export one high-resolution master file per dish and crop down from it for each platform, rather than re-shooting for every channel.* Deliverect's menu image guidelines note that shooting at higher resolution upfront and keeping non-destructive edits saves time when you need a different crop later.
Publishing menu photos inside a RESTOBOT site
Inside a RESTOBOT-powered menu, each item has a dedicated photo slot built into the ordering flow, so the image customers see when browsing is the same one they see before tapping to order. We built that flow around one priority: clarity over novelty, because a customer who can't tell what a dish looks like stalls before completing an order.
- Upload a centered, well-lit photo per item, following the same framing rules covered above.
- Keep filenames and crops consistent across the menu so the ordering screen feels uniform scrolling top to bottom.
- Use the online menu QR code setup to make sure photos display correctly whether a guest scans at the table or orders from the website.
- Review photos at both list and expanded view inside your dashboard before publishing, since RESTOBOT shows images at two different sizes depending on where a customer is in the flow.
Quick rules our restaurant partners follow
We tell every partner the same three things: center the dish, light it from the side, and keep the whole menu visually consistent. Most assign one staff member to own the photo shoot so the style stays uniform. Shoot a batch of ten items, check them at thumbnail size, then adjust before doing the rest.
*— ADMIN*
Publish your menu photos with RESTOBOT
Once your photos are ready, we give you a place to put them to work immediately. A site and menu go live within a day of your application being confirmed, with photo slots built into every item and zero commission on orders or tips, so every sale and every tip goes straight to you and your staff. Explore the RESTOBOT plans, including LOYALTY, MENU, and FULL, to find the one that fits your menu size, or check out the Tips feature if your staff want to start collecting commission-free digital tips right away.
FAQ
What do you need for food photography?
You need a camera or smartphone, a light source (natural window light or a diffused LED), a plain background, and a reflector or white foam board to soften shadows. A tripod helps keep shots level and consistent across a full menu shoot.
What are the 7 basics of photography?
The core basics generally covered are light, composition, angle, focus, exposure, background, and color balance. For menu photos specifically, side or diffused light, a centered composition, and consistent color across items matter most, according to the Institute of Culinary Education's lighting guide.
What is food in photography?
Food photography is the practice of photographing dishes to make them look appetizing, whether for editorial use, advertising, or practical menu listings. Menu photography is a specific branch of it, focused on clarity and accuracy rather than mood or storytelling.
What is photography of food called?
It's called food photography, a genre that splits into editorial or commercial work and the more functional menu or product photography used for ordering platforms. Menu photos prioritize a centered, well-lit single dish over the styled scenes typical of editorial shoots.
How do menu photos affect sales?
Images with higher aesthetic quality show a positive correlation with increased sales on food delivery platforms, according to research on image aesthetics and food delivery sales. Clear, appealing menu photos also increase customer desire for the dish and the likelihood they'll share it, per research on digital menu design.
Sources
- AS TASTY AS IT LOOKS: EXPLORING THE IMPACT OF IMAGE AESTHETICS ON FOOD DELIVERY SALES
- Food Photography 101: How to Use Lighting to Take Great Pictures | Institute of Culinary Education
- Scrolling the Menu, Posting the Meal: Digital Menu Effects on Foodstagramming Continuance
- How to upload your own photos in Menu Manager (Deliveroo help)